Melbourne’s Premier Custom Home Builders and Remodelers

visit our location by appointment:

Live Innovations 153 High Street,
Thomastown VIC. 3074

Opening Hours:

Mon-Fri 8am-5pm

March 16, 2026

5 Best Dulux Bathroom Paint Options For Walls And Ceilings
Uncategorized

5 Best Dulux Bathroom Paint Options For Walls And Ceilings

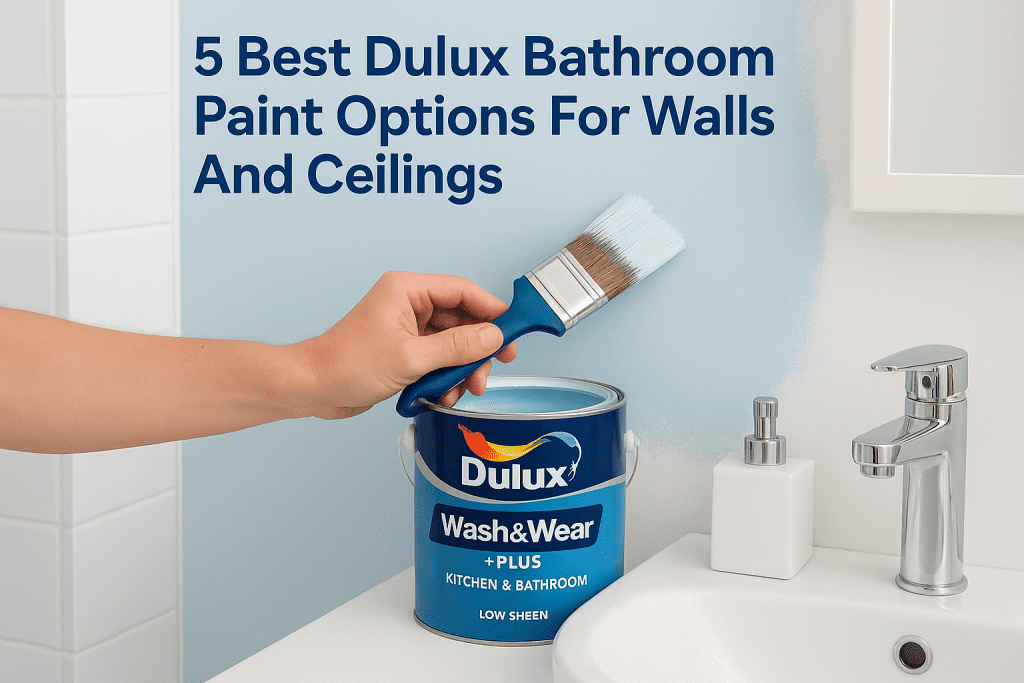
Choosing the right Dulux bathroom paint can make or break your renovation. Bathrooms cop constant moisture, steam, and temperature swings, so a standard wall paint won’t cut it. You need a product that resists mould, handles humidity, and still looks sharp years down the track. At Transformer Homes, we’ve painted our fair share of bathrooms and kitchens across Melbourne’s northern and western suburbs. Through hundreds of builds and renovations, we’ve seen firsthand which Dulux products perform and which ones start peeling within months. That hands-on experience shapes every recommendation in this guide. Below, we’ve rounded up five of the best Dulux bathroom paint options for walls and ceilings, covering everything from low sheen and semi-gloss finishes to purpose-built moisture-resistant formulas. Each pick includes the details you actually need: where to use it, what finish to expect, and why it works. 1. Dulux Wash&Wear +PLUS Kitchen & Bathroom Low Sheen This is the most versatile dulux bathroom paint in the Dulux range and our go-to recommendation for most bathroom wall projects. It’s specifically formulated for high-moisture environments, and it backs that up with real durability across the hundreds of renovations we’ve completed across Melbourne. Best for This product suits homeowners who want a reliable, all-round solution for bathroom and kitchen walls. It works best when your bathroom sees heavy daily use or has limited natural ventilation. Finish and look The low sheen finish sits between a flat and semi-gloss, giving walls a clean, soft appearance without magnifying every surface imperfection. It reads as modern and understated, which suits both contemporary renovations and period-style homes found throughout Melbourne’s inner north and west. Mould and moisture protection Dulux builds active mould inhibitors into this formula, which resist mould and mildew growth directly on the paint film. This matters in bathrooms where steam and condensation settle on walls every day. The mould resistance works on the paint film itself, so it doesn’t replace proper ventilation or fixing any underlying moisture problems inside your walls. Where to use it in a bathroom Apply it to bathroom walls and splashback zones that don’t sit directly inside a shower recess or bath wet area. It bonds well to plasterboard, plaster, and previously painted surfaces that are clean and structurally sound. Application notes and prep You’ll get the best finish with two coats applied over a properly prepared surface. Clean the walls, fill any holes, and sand them smooth before you start. If you’re painting over a dark colour or raw plaster, apply a quality primer first to ensure even coverage and proper adhesion. 2. Dulux Wash&Wear +PLUS Kitchen & Bathroom Semi Gloss When you want higher reflectivity and easier surface cleaning, this is the dulux bathroom paint to reach for. It shares the same moisture-resistant formula as the low sheen version but delivers a noticeably brighter finish. Best for This product suits smaller bathrooms or any space where you want surfaces to feel brighter and more open without committing to a high-gloss look. Finish and look The semi-gloss sheen reflects light more than the low sheen option, which makes compact bathrooms feel larger. That said, it will highlight surface imperfections, so wall prep matters more here. Mould and moisture protection Like the low sheen version, this paint carries built-in mould inhibitors that resist mould growth directly on the paint film in humid, steamy conditions. Proper ventilation still does most of the heavy lifting; paint alone won’t solve an underlying condensation problem. Where to use it in a bathroom Use it on bathroom walls outside wet areas, particularly in spaces with low natural light where the reflective finish adds genuine value. Application notes and prep Fill, sand, and prime the surface before applying two coats. The higher sheen will show any inconsistencies in your prep work, so take your time on this step. 3. Dulux Ceiling White +PLUS Kitchen & Bathroom Most people overlook the ceiling, but it’s one of the most vulnerable surfaces in a bathroom. Steam rises and settles there first, making it a prime spot for mould. This dedicated dulux bathroom paint product targets that exact problem with a formula built specifically for overhead surfaces in wet areas. Best for This product suits bathroom and kitchen ceilings that take the full force of daily steam and condensation. It’s purpose-built for the job, so you won’t need to reach for a general-purpose ceiling paint that wasn’t designed for high-humidity conditions. Finish and look The flat white finish hides roller marks and minor surface irregularities well. It delivers a clean, bright overhead surface that reflects light evenly without any sheen that could draw attention to imperfections. Mould and moisture protection Dulux formulates this paint with built-in mould inhibitors that resist mould growth directly on the paint film. Bathroom ceilings are typically the first place mould appears, so this targeted protection makes a real difference over time. Good ventilation still prevents the underlying moisture buildup that causes mould to grow behind the paint film. Where to use it in a bathroom Apply it to bathroom and kitchen ceilings only. The formula is not designed for wall surfaces, so keep it overhead. Application notes and prep Two coats over a primed or previously painted surface gives the best result. Fix any water stains or peeling patches before you start. 4. Dulux Renovation Range for bathroom tiles and wet-area surfaces If your bathroom tiles look dated but a full retile isn’t in your budget, this dulux bathroom paint product offers a practical way forward. The Dulux Renovation Range bonds directly to tiles, laminate, and glass without requiring you to strip or demolish the existing surface. Best for This product suits homeowners who want to refresh wet-area surfaces without a full renovation. It works particularly well in older bathrooms where tiles are structurally sound but visually outdated. Finish and look The finish is smooth and hard-wearing, sitting closer to a semi-gloss that mimics the appearance of a freshly tiled surface. It comes in a range of colours, so you can

Bathroom Renovation Coburg: Costs, Timeline & Builder Tips
Uncategorized

Bathroom Renovation Coburg: Costs, Timeline & Builder Tips

If you’re planning a bathroom renovation in Coburg, you’re probably juggling a dozen questions at once. How much will it actually cost? How long will the whole process take? And how do you find a builder who won’t cut corners or disappear halfway through? These are fair concerns, and ones worth answering before a single tile gets pulled off the wall. Coburg’s mix of older weatherboard homes, post-war brick builds, and newer townhouses means no two bathroom renovations look the same. Plumbing configurations, structural limitations, and council requirements can vary from one street to the next. That’s where working with a builder who knows Melbourne’s inner north makes a real difference. At Transformer Homes, we’ve built our reputation across the northern suburbs by delivering renovations that hold up, in quality, budget, and timeline. This guide breaks down the real costs, realistic timeframes, and practical tips for getting your Coburg bathroom renovation right. Whether you’re refreshing a compact ensuite or gutting a full family bathroom, you’ll walk away with a clear picture of what’s involved and what to expect from your builder at every stage. What a Coburg bathroom renovation involves A bathroom renovation in Coburg covers far more than swapping fixtures and repainting walls. From the moment you strip out the old bathroom to the final inspection, you’re coordinating trades, materials, approvals, and timelines across several weeks. Understanding what the process actually involves helps you plan properly and avoid the surprises that blow out budgets and stress levels. The typical scope of work Most bathroom renovations break down into a predictable sequence of work, even if the details shift by property. A full renovation typically includes demolition, waterproofing, tiling, plumbing, electrical, cabinetry, and fixture installation. Partial renovations, like a cosmetic refresh, might skip structural changes but still require a licensed plumber and electrician for any fixture work under Victorian building regulations. Here’s what a standard full renovation covers: Demolition and waste removal Waterproofing (mandatory under Australian Standards AS 3740) Rough-in plumbing and electrical Wall and floor tiling Installation of vanity, toilet, shower, and bath Cabinetry, mirrors, and accessories Final fit-off and building inspection Waterproofing is not optional in Australia. All wet areas must be waterproofed by a licensed tradesperson before any tiling begins, and this work is subject to inspection. What makes Coburg homes different Many Coburg properties were built before modern plumbing layouts became standard, which means your existing pipes may run in unexpected locations inside walls or under concrete slabs. Older homes often have cast-iron or galvanised steel pipes that need full replacement before new fixtures can go in. A bathroom renovation Coburg builder who knows the local housing stock will identify these issues at the quoting stage rather than after demolition begins, and that timing makes a significant difference to your final cost. Step 1. Set your scope, budget and cost drivers Before you call a builder, you need a clear picture of what you want done and how much you’re willing to spend. Defining your scope early stops you from making costly decisions under pressure and gives builders enough detail to quote accurately rather than build in padding for unknowns. Define your renovation scope Write down every element you want to change, from the shower screen to the exhaust fan. Split your list into must-haves and nice-to-haves so builders can quote against a clear baseline and you know exactly where to cut if costs come in high. A basic scope template: Must-have: new shower, floor tiles, vanity, toilet suite Nice-to-have: heated towel rail, underfloor heating, custom cabinetry Understand your cost drivers For a bathroom renovation Coburg project, the biggest cost variables are layout changes and waterproofing extent. Moving a drain or toilet means relocating pipes, which adds significant labour costs. Keeping fixtures in their current positions is the fastest way to control spend. A cosmetic refresh in Melbourne’s inner north typically costs $10,000-$20,000, while a full structural renovation runs $25,000-$45,000 or more. Your material choices also push costs up quickly. Large-format tiles and custom vanities cost considerably more than standard ranges, so set a firm materials budget before you start browsing. Step 2. Lock in layout, finishes and approvals Once your budget is set, finalise your layout and choose your finishes before work starts. Mid-renovation changes add delays and cost, so locking in every decision upfront keeps your project on schedule. Confirm your layout first Keeping existing plumbing positions saves significant money on a bathroom renovation Coburg project. If your current layout functions well, leave it as-is. If you need to move a toilet or shower, confirm the change during quoting so the plumbing cost is included from the start, not discovered during demolition. Common layout changes that add cost: Relocating the toilet pan or drain Moving the shower to a different wall Adding a bath where none previously existed Choose finishes before work begins Your tile selections, vanity, and tapware must be confirmed before your builder books trades or orders materials. Use a finishes schedule to track every product: Item Supplier Product code Colour Floor tile Wall tile Vanity Tapware A finishes schedule protects you contractually by recording exactly what was agreed and priced. Check if you need a building permit Most cosmetic bathroom renovations don’t require a planning permit under Victorian building regulations. However, if you’re altering structural elements or drainage locations, your builder should confirm whether a building permit is required before work begins. Skipping this check can result in failed inspections and costly rectification work, so clarify permit requirements at the quoting stage rather than after demolition. Step 3. Choose a builder and sign a clear contract Choosing the right builder for your bathroom renovation Coburg project protects your budget, your timeline, and your final result. You want a builder who is licensed, insured, and experienced with Melbourne’s inner-north housing stock, not someone quoting blind on a property type they have never worked on before. How to vet a builder Ask every builder you consider for their Victorian Building Authority (VBA)

Scroll to Top