Bathroom Renovation Checklist: 7 Steps From Plan To Fit-Off
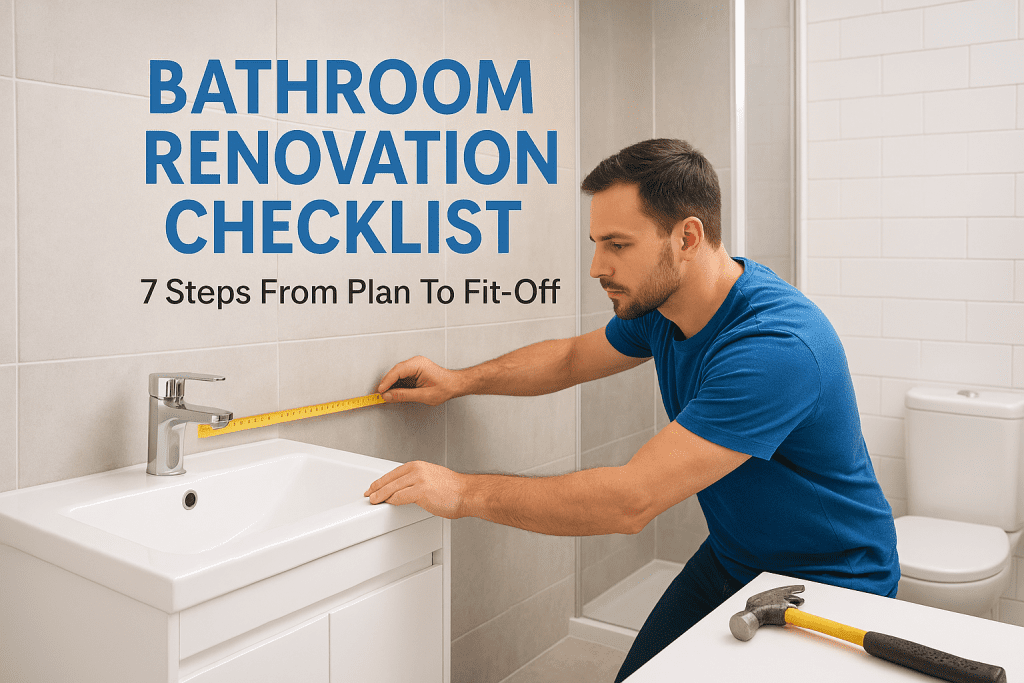
A bathroom renovation can go sideways fast, blown budgets, surprise plumbing issues, weeks of delays, and most of the damage happens before a single tile gets laid. The difference between a smooth project and a stressful one almost always comes down to preparation. That’s exactly why having a solid bathroom renovation checklist matters. It keeps every decision, trade, and material selection on track from day one. At Transformer Homes, we’ve managed hundreds of bathroom renovations across Melbourne’s northern and western suburbs. We’ve seen what happens when homeowners skip steps, and we’ve built our process around making sure nothing gets missed. Whether you’re working with us or tackling the planning yourself, this guide gives you a clear, practical framework to follow. Below, we break down the seven steps that take a bathroom renovation from initial planning through to fit-off, covering budgets, design decisions, permits, trades, and the details that are easy to overlook until they become expensive problems. Each step builds on the last, so you’ll know exactly what to do and when to do it. Consider this your go-to reference for the entire project. 1. Decide if you need a builder-led renovation The very first decision shapes everything else on your bathroom renovation checklist. Before you pick a tile or call a plumber, you need to work out whether your project is a simple cosmetic refresh or a full structural renovation, because that distinction changes who you need, what approvals apply, and what the whole thing will cost you. What this step covers This step is about scope clarity. A cosmetic update, swapping tapware, repainting walls, or replacing a vanity, can often be handled by individual trades you coordinate yourself. A renovation that moves walls, relocates plumbing, or creates a new wet area from scratch requires a registered builder in Victoria under the Domestic Building Contracts Act. In Victoria, any domestic building work valued over $10,000 must be carried out under a major domestic building contract with a registered building practitioner. Your checklist Work through these questions before committing to any approach: Is your project structural? Moving walls, altering floor levels, or waterproofing a new wet area all require builder oversight. Will your plumbing or drainage relocate? Any change to pipe positions needs a licensed plumber and may trigger a building permit. What is your total estimated spend? Projects above $10,000 activate registration and contract requirements under Victorian law. Do you have time to manage trades yourself? Self-coordinating means you book, schedule, and troubleshoot every subcontractor directly. Decisions that affect cost and timeline Keeping your existing layout is the single most effective way to control cost at this stage. The moment you move a toilet, shower, or basin, you’re paying for new drainage runs, extended waterproofing, and additional labour hours. Builder-led projects carry overhead, but they reduce your coordination burden and provide statutory warranty protections under the Domestic Building Contracts Act, which matters if something goes wrong six months after completion. Questions to ask your trades or builder Ask these before you sign anything: Are you registered with the Victorian Building Authority for domestic building work? What contract type applies to this project, and what does it include? Who takes responsibility for permits and inspections? How do you manage scope changes once the build is underway? 2. Measure the space and lock the layout Once you know who is managing your project, your next priority is to confirm the exact measurements and lock in your layout before anyone orders a product. Getting this wrong means fixtures that don’t fit, layouts that can’t drain correctly, and costly re-orders. What this step covers This step is about establishing your floor plan and identifying the fixed constraints of your space. Ceiling height, door swing, window position, and existing plumbing stack locations all determine what is physically achievable within the room. Your checklist Before finalising any selections on your bathroom renovation checklist, record these key measurements: Floor dimensions: Measure length and width at multiple points, walls are rarely perfectly square. Ceiling height: Confirm clearance for ceiling-mounted fixtures or recessed lighting. Door and window positions: Mark swing arcs and sill heights on your floor plan. Existing drain locations: Note the floor waste, toilet rough-in, and basin drain positions. Wall stud positions: Identify these before planning any wall-hung fixtures or niches. Decisions that affect cost and timeline Keeping your floor waste in its current position is the fastest way to protect your timeline. Moving a toilet rough-in or floor drain requires cutting concrete, extended plumbing labour, and additional drying time before any tiling can begin. Moving a single floor waste point can add $1,500 to $3,000 to your renovation budget in Melbourne. Questions to ask your trades or builder Ask your plumber or builder to confirm these points before finalising your layout: Can the existing drainage support the new configuration without relocation? What is the minimum fall required to the floor waste under AS/NZS 3500? 3. Set your budget and contingency With your layout confirmed, you need a realistic budget before committing to anything on your bathroom renovation checklist. Skipping this step is how projects stall halfway through or end up cutting corners on materials that matter. What this step covers This step is about setting a total spend figure and building in a contingency buffer for the unexpected costs that almost every renovation uncovers. Behind walls and under floors, problems like rotted framing, old waterproofing failures, or outdated wiring regularly surface once demolition begins. Budget a minimum 15% contingency on top of your quoted renovation cost to cover hidden defects and scope changes. Your checklist Before you approve any quotes, record each cost category separately so you can track where your total budget is allocated: Total project budget: Confirm your maximum spend, including design fees, trades, and materials. Contingency reserve: Set aside at least 15% of your budget above material allowances. Fixture and finish allowances: Assign a dollar figure per category, tiles, tapware, vanity, and toilet suite. Trade costs: Get itemised quotes from each
