You’ve decided to renovate. Maybe it’s a dated kitchen in your Northcote weatherboard, or a full rear extension on your Preston home. Either way, you’re now facing the real question: how to manage a home renovation project without it blowing out in cost, time, or stress. It’s a fair concern, and one we hear from homeowners across Melbourne’s north and west every single week.
The truth is, most renovation headaches don’t come from bad tradespeople or unexpected site conditions. They come from poor planning and unclear processes at the start. A renovation without a management plan is just a series of expensive surprises.
At Transformer Homes, we’ve built and renovated hundreds of homes across Melbourne, and we’ve seen firsthand what separates a smooth project from a painful one. That experience is exactly what shaped this guide. We’re going to walk you through every stage of managing a renovation, from setting a realistic budget and locking in a timeline, through to coordinating trades, handling approvals, and keeping the whole thing on track. Whether you’re managing the project yourself or working alongside a builder, this is the practical, start-to-finish roadmap you need before a single wall gets touched.
What you must manage and why it matters
Understanding how to manage a home renovation project properly starts with knowing what "managing" actually covers. Most homeowners think about tiles and tapware, but they forget about council permits, trade sequencing, and cash flow. A renovation involves five interconnected areas, and if any one of them drifts, the whole project feels it. Getting across all five before work starts is what separates a controlled renovation from a reactive one.
The five moving parts of every renovation
Every residential renovation, whether it’s a bathroom update in Thornbury or a full rear extension in Preston, involves the same core areas you need to stay across consistently.
| Area | What it covers |
|---|---|
| Scope | What work is being done, to what standard, and what is excluded |
| Budget | All costs including materials, labour, permits, and contingency |
| Schedule | When each trade starts and finishes, and how they depend on each other |
| Quality | Whether the work meets the specification, the building code, and your expectations |
| Communication | How decisions get made, who is responsible for what, and how issues get resolved |
These five areas don’t operate independently. A delay in your schedule will affect your budget. A gap in your scope will affect your quality. Managing a renovation means keeping all five in view at once, not just the one sitting in front of you that week.
Why one overlooked area can derail the whole project
Consider a common scenario in Melbourne’s northern suburbs: you’ve signed a contract, your builder starts on site, and three weeks in you realise the electrical upgrade was never included in the scope of works. The sparky can’t rough-in until it’s sorted. The plasterer is now waiting. Your timeline has shifted by two weeks, and that delay triggers a variation cost you weren’t budgeting for. Suddenly your contingency is gone before the frame is even complete.
The moment you stop actively managing one area of your renovation, it starts managing you.
This is not an unusual story. It’s a pattern that traces back almost every time to a planning gap at the start. The fix is rarely more money. It’s a clearer process before the first trade sets foot on your property.
The difference between managing and just watching
There’s a real distinction between actively managing your renovation and simply turning up on site occasionally to check what’s been done. Managing means you understand the next two weeks of work before they happen. You’ve confirmed material deliveries are booked. You know which trade follows which, and why the order matters. Watching means you find out about problems after they’ve already cost you time or money.
Your level of involvement will vary depending on whether you’re owner-building, working with a dedicated project manager, or using a full-service builder like Transformer Homes. But regardless of who holds the formal role on your project, you need to understand what active management looks like. That knowledge lets you hold the right people accountable and make informed decisions when issues surface. Problems will come up on every renovation, without exception. The difference between a project that handles them smoothly and one that spirals comes down to whether someone is paying consistent, deliberate attention to all five moving parts, from the day planning starts right through to final inspection and handover.
Define your renovation brief and priorities
Before you talk to a builder, designer, or anyone else, you need a written renovation brief. This is the single document that captures what you want to achieve, why you’re renovating, and what your non-negotiables are. Without it, every conversation you have with a trade or designer starts from scratch, and you’ll keep making decisions reactively rather than from a clear position.
Write down what you actually need versus what you want
Most homeowners mix up needs and wants from the start, and that confusion drives scope creep and budget blowouts. A need is functional: you need a second bathroom because your family has outgrown one. A want is preferential: you want that second bathroom to have a freestanding bath. Both are valid, but they sit in different categories when you’re learning how to manage a home renovation project and making trade-off decisions under pressure later.
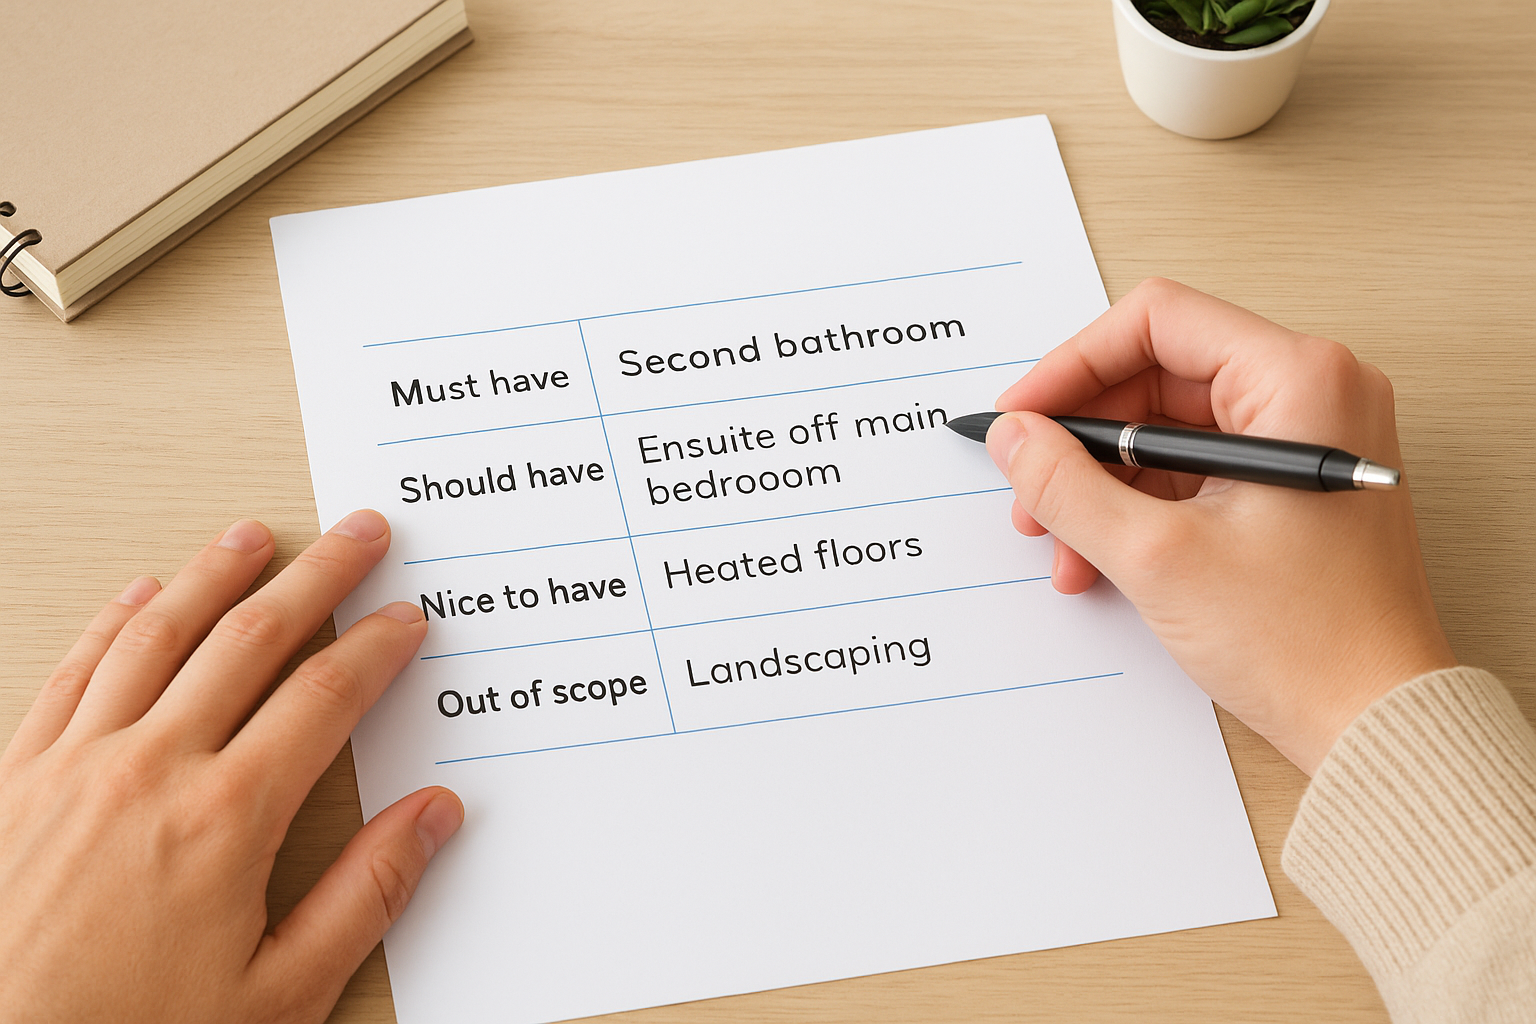
Use this simple template to separate them:
| Category | Example |
|---|---|
| Must have | Second bathroom, open-plan kitchen, structural wall removed |
| Should have | Ensuite off main bedroom, butler’s pantry |
| Nice to have | Heated floors, skylight, feature tiling |
| Out of scope | Landscaping, external repaint, new driveway |
Knowing what sits out of scope is just as important as knowing what sits in scope.
Set your priorities before you speak to anyone
Once you’ve separated needs from wants, rank your three most important outcomes for this renovation. Is it adding a bedroom before your second child arrives? Improving liveability before you sell in two years? Reducing energy costs long term? Your top three priorities will guide every decision you make when budget pressure, timeline shifts, or unexpected site conditions force you to choose between competing options.
Your brief should also capture the way you want the space to feel and function, not just the physical changes. Note how many people live in the home, how you use each room daily, and what the biggest friction points are. A rear extension on a Thornbury terrace designed for a couple working from home needs a completely different brief to the same footprint built for a family of five. Specificity at this stage saves you from costly redesigns later and gives your builder or designer a clear, unambiguous picture to work from on day one.
Inspect, measure, and document the existing home
Before you get a single quote or sketch a single floor plan, you need a thorough, documented record of your home as it currently stands. This step is where understanding how to manage a home renovation project gets real and practical. Skipping it is how you end up with a builder discovering mid-project that your walls aren’t where the drawings said they were, or that existing plumbing runs directly through the spot your new kitchen needs to occupy.
Walk every room with a critical eye
Go through your home room by room and note every condition and constraint you can see. Look at ceiling heights, window positions, door swings, existing power points, plumbing locations, and which way structural walls run. In older Melbourne homes, particularly pre-war weatherboards and double-brick houses in areas like Northcote or Preston, you’ll often find non-standard proportions and hidden complications like undersized floor joists, asbestos-containing materials, or outdated wiring that your renovation will need to address.
As you walk each room, flag anything that looks worn, damaged, or inconsistent:
- Cracked cornices or ceilings that could indicate structural movement
- Soft spots in floors suggesting subfloor rot or termite damage
- Water staining around windows, wet areas, or on external walls
- Electrical switchboards with old fuse wire instead of circuit breakers
- Galvanised steel pipes rather than copper or PEX in wet areas
Measure and record everything
Accurate measurements are the foundation your designer and builder will work from. Use a tape measure or laser distance tool and record every room in millimetres, not rough metres. Capture wall lengths, ceiling heights, and window and door opening dimensions, plus the distance from walls to fixed elements like floor drains or gas meters.
If your measurements don’t match reality, your plans won’t match your home, and you’ll pay for the difference in costly variations on site.
Use a simple table like this to record each space:
| Room | Length (mm) | Width (mm) | Ceiling height (mm) | Notes |
|---|---|---|---|---|
| Kitchen | Drain position, window east wall | |||
| Bathroom | Soil pipe location, tile condition | |||
| Living | Structural wall, heritage cornice |
Photograph and file everything
Take dated, labelled photos of every wall, floor, ceiling, and service location before work starts. Store them in a dedicated folder organised by room, on your phone or a shared cloud drive. These photos become your evidence baseline if any dispute arises about what existed before work began, and they’re invaluable when briefing trades who haven’t yet seen the site.
Build the scope of works and trade sequence
Your inspection notes and renovation brief are now ready to turn into a formal scope of works. This document lists every task the project requires, described in enough detail that any trade or builder can price it accurately. Without a clear scope, two builders quoting the same job will price two completely different projects, and you’ll have no way to compare them. Learning how to manage a home renovation project well means recognising that an ambiguous scope always costs you money, either during the quoting stage or in variations once work has started.
Write the scope of works document
Each item in your scope should cover the specific task, the materials or finish standard, and the location within the home. Avoid vague descriptions like "update bathroom." Instead, write: "Strip existing tiles in main bathroom (3m x 2m), waterproof floor and wet walls to AS 3740, and tile with 300×600 porcelain to shower, floor, and feature wall." That level of detail protects both you and your builder from disagreements about what was included in the price.
Use this template structure to build your scope:
| Trade | Task | Location | Finish/standard |
|---|---|---|---|
| Demolition | Remove non-structural wall | Between kitchen and dining | Confirm structural with engineer |
| Framing | Construct new rear extension frame | Rear of property | 90×45 MGP10 to engineer spec |
| Plumbing | Relocate kitchen sink waste and supply | Kitchen | Copper supply, PVC waste |
| Electrical | Add 6 double GPOs and 4 downlights | Kitchen and dining | White plate, LED |
| Waterproofing | Membrane to shower and floor | Bathroom | AS 3740 compliant |
| Tiling | Supply and lay tiles | Bathroom floor and shower | 300×600 porcelain |
| Plastering | Patch and set all new framing | Throughout | Flush finish |
| Painting | Prime and two coats | Throughout | Low sheen, client colour selection |
Sequence your trades in the right order
Trade sequencing is where most owner-managed renovations go wrong. Each trade depends on the one before completing specific work, and booking them out of order means someone sits idle while you absorb the cost. Structural and wet trades always run before finishing trades, without exception.

A standard residential sequence runs: demolition, framing, rough-in plumbing, rough-in electrical, insulation, waterproofing, plastering, tiling, cabinetry, painting, then fixtures and fittings. Follow this order and your project flows. Skip a step or run two trades at once in the same space and you’ll end up pulling finished work apart to fix something that should have been done earlier.
Getting the trade sequence right before you book anyone is one of the highest-value planning steps in the entire project.
Build your sequence into a numbered list, assign a week number to each trade, and confirm with each contractor that the handover point between their work and the next trade is clearly understood before anyone starts on site.
Set your budget, finish schedule, and contingency
Your scope of works gives you the full list of tasks. Now you need to translate that list into a realistic budget, a week-by-week schedule, and a contingency buffer that actually protects you. This is the stage where most homeowners underestimate what their renovation will cost, and where understanding how to manage a home renovation project in real financial terms becomes essential. Getting this right before you engage any builder or trade means you’re negotiating from an informed position, not guessing.
Build your budget from the ground up
Build your budget line by line against your scope, not as a single lump sum. Every trade, every material category, and every fixed cost like permits and engineering reports should appear as a separate line. This structure makes it immediately obvious where money is going, and it gives you a clear basis for comparing quotes when they arrive.
Use this template as your starting point:
| Cost category | Estimated cost (AUD) | Quoted cost (AUD) | Variance |
|---|---|---|---|
| Demolition | |||
| Framing and structure | |||
| Rough-in plumbing | |||
| Rough-in electrical | |||
| Insulation | |||
| Waterproofing | |||
| Plastering | |||
| Tiling | |||
| Cabinetry and joinery | |||
| Painting | |||
| Fixtures and fittings | |||
| Engineering and certifications | |||
| Council permits | |||
| Subtotal | |||
| Contingency (15-20%) | |||
| Total |
Create a finish schedule that trades can follow
A finish schedule is not a rough timeline. It is a week-by-week plan that names each trade, the specific tasks they are completing that week, and the handover condition the next trade requires before they can start. Share this document with every contractor before work begins so there are no surprises about when they are expected on site and what state the job needs to be in when they arrive.
A schedule that trades have seen and agreed to before work starts is worth far more than one sitting in a folder no one has read.
Set your contingency at the right level
In Melbourne’s established suburbs, where older homes regularly reveal hidden defects like asbestos sheeting, undersized subfloor framing, or outdated drainage, a 10% contingency is rarely enough. Set your contingency at 15% minimum, and push it to 20% if you are renovating a pre-1980s home or removing any walls. Treat this as a reserved budget line, not extra spending money, and only draw on it when a genuine variation or unforeseen condition forces the issue.
Choose how you will build and hire your team
Understanding how to manage a home renovation project means making one of the most consequential decisions before work starts: who is actually delivering the project. You have three delivery paths available to you, and each one shifts a different amount of responsibility onto your plate. Choose the wrong model for your skills and available time, and you’ll spend the next several months firefighting rather than building.
Know your three delivery options
Your three options are owner-builder, head contractor with subcontractors, or a full-service builder. Each carries a different cost profile, risk level, and time demand on you personally.
| Delivery model | Who manages trades | Your time commitment | Best suited to |
|---|---|---|---|
| Owner-builder | You | Very high (near full-time) | Experienced renovators with trade contacts |
| Head contractor | A licensed builder coordinates subs | Medium (weekly oversight) | Mid-size projects where you want control but not daily management |
| Full-service builder | Builder manages everything | Low to medium (key decisions only) | Complex projects, dual occupancy, rear extensions |
In Victoria, owner-builders must hold an owner-builder certificate from the Victorian Building Authority for work valued above $16,000. Failing to obtain this before starting structural or wet work exposes you to significant legal and insurance risk, so confirm your obligations with the VBA directly before you commit to this path.
Vet and book your trades early
Regardless of which delivery model you choose, the quality of the people doing the work determines the outcome more than any other single factor. Ask every trade or builder for their Victorian Building Practitioners registration number and verify it on the VBA register before you sign anything. Request references from two or three recent projects of a similar size to yours and actually call them.
A trade with a six-week lead time is still a better choice than an available one with no verifiable track record.
Melbourne’s northern and western suburbs run on strong word-of-mouth networks, so ask your neighbours, your local Facebook community groups, and any architects or designers you’ve spoken to for referrals. Once you’ve selected your team, confirm start dates in writing and lock them into your finish schedule immediately. Good trades book out fast, and a gap in your sequence because a key contractor is unavailable will cost you far more than a higher day rate.
Lock in design, selections, and approvals in Victoria
Design decisions and regulatory approvals are not things you can sort out while construction is underway. Every week you delay confirming your floor plan, material selections, or permit applications is a week your trades sit waiting, and in Melbourne’s current construction market, idle time on site is expensive time. Locking these elements down before work starts is one of the clearest actions you can take when learning how to manage a home renovation project without avoidable delays.
Finalise your design drawings and material selections
Your builder and trades need fully resolved, dimensioned drawings before they can start work at a fixed price. Concept sketches are not enough. You need a set of working drawings that shows structural details, wet area layouts, window and door schedules, and all specified finishes. Work with a designer or draftsperson to reach this stage before you request final quotes, because changing your mind on a finish or layout after a contract is signed triggers a formal variation with an associated cost.

Resolve every material and finish selection before the contract is signed using this checklist:
| Selection category | Decision required |
|---|---|
| Floor coverings | Tile, timber, vinyl, carpet, per room |
| Wall tiles | Size, format, grout colour, layout pattern |
| Cabinetry | Supplier, door profile, handle, finish |
| Tapware and fixtures | Brand, finish, model number |
| Lighting | Fitting type, placement, switch positions |
| Paint | Brand, colour codes, sheen level per room |
| Windows and doors | Frame material, glazing type, hardware |
Selecting materials late is one of the most common reasons renovation timelines extend by weeks, not days.
Navigate Victorian planning and building permits
In Victoria, most structural renovations and rear extensions require a building permit issued by a registered building surveyor before any work can begin. This is not optional. Starting structural work without a permit exposes you to stop-work orders, fines, and potential complications when you sell the property.
Some projects in heritage overlays or specific zones across Melbourne’s northern suburbs also require a planning permit from your local council before a building permit can be issued. Check your property’s overlay status on the Victorian Planning Property Report portal before you brief your designer, because overlay requirements will directly influence what your design can and cannot include. Allow six to twelve weeks for planning permit decisions and four to six weeks for building permits when you’re building your finish schedule.
Quote, contract, insure, and set up the site
With your design locked, your approvals in progress, and your team selected, you’re now ready to collect formal quotes, sign a construction contract, arrange appropriate insurance, and prepare the site for work to begin. This is the stage where understanding how to manage a home renovation project shifts from planning on paper to legally binding commitments, so every decision you make here deserves careful attention before you put your signature on anything.
Get comparable quotes and review them line by line
Request a minimum of three written quotes for your project, all priced against the same scope of works document you built earlier. If you send different scopes to different builders, you’ll receive quotes that are impossible to compare. When quotes arrive, read each one line by line against your scope, checking for items that are missing, excluded, or described more loosely than you specified. A lower total price often means a narrower scope, not a more efficient builder.
Use this comparison template to assess each quote:
| Line item | Your scope spec | Builder A | Builder B | Builder C |
|---|---|---|---|---|
| Demolition | Per scope | $ | $ | $ |
| Framing | Per scope | $ | $ | $ |
| Plumbing rough-in | Per scope | $ | $ | $ |
| Electrical rough-in | Per scope | $ | $ | $ |
| Waterproofing | AS 3740 compliant | $ | $ | $ |
| Plastering | Per scope | $ | $ | $ |
| Painting | Per scope | $ | $ | $ |
| Provisional sums | Listed items | $ | $ | $ |
| Exclusions | List clearly |
Sign a contract that protects you
In Victoria, domestic building contracts for work over $10,000 must comply with the Domestic Building Contracts Act 1995. Your builder is legally required to provide a compliant written contract before work begins. Read every clause carefully, paying particular attention to progress payment schedules, variation procedures, and dispute resolution terms. Never pay more than 5% as a deposit before work starts, which is the maximum permitted under Victorian law for contracts over $20,000.
A contract that clearly defines variation approval processes will save you far more money than any discount you negotiate on the base price.
Arrange insurance and prepare the site
Confirm that your builder holds current domestic building insurance (also called home warranty insurance in Victoria) for projects over $16,000 before you sign anything. As the homeowner, also notify your own home and contents insurer that construction is underway, as standard policies often exclude damage during renovation works. Once insurance is confirmed, clear the work zone, secure access points, and establish where materials will be stored and waste removed so your first trade can start without delays on day one.
Manage the build day to day and stay in control
Work on site moves fast, and problems compound quickly when no one is actively tracking what happened yesterday and what needs to happen tomorrow. This is where knowing how to manage a home renovation project shifts from planning to execution. Your job during the build phase is to stay one step ahead of the work, not scramble to catch up after something has already gone sideways.
Hold a short weekly site meeting
Set a fixed time each week to walk the site with your builder or lead trade and review progress against your finish schedule. Keep the meeting focused: what was completed this week, what is scheduled for next week, and are there any blockers that need resolving before the next trade arrives. Fifteen minutes of structured conversation does more than a dozen reactive phone calls.
A weekly meeting that follows a consistent agenda catches problems before they become variations.
Use this simple template to record each meeting:
| Item | Notes | Action required | Owner | Due |
|---|---|---|---|---|
| Work completed this week | ||||
| Work scheduled next week | ||||
| Blockers or issues | ||||
| Variations raised | ||||
| Materials ordered/confirmed |
Record every variation in writing before work proceeds
A variation is any change to the agreed scope, materials, or price after the contract is signed. Every variation, no matter how small it seems, needs to be agreed in writing and signed by both parties before the additional work starts. Verbal approvals lead to disputed invoices, and disputed invoices lead to delayed payments that stall the whole project.
When a variation is raised, record the description of the change, the cost impact, and any schedule impact immediately. File every signed variation alongside your contract so your full financial position is visible at all times, not buried across text messages and emails.
Track payments against your progress payment schedule
Your contract defines when each progress payment is due and what stage of work triggers each payment. Never pay a progress claim without physically inspecting the work it relates to. Walk the site, confirm the stage is genuinely complete to the standard specified, and only then release the funds. Keeping your payment schedule current and accurate also tells you at any point how much of your budget remains available, which is the clearest early warning system you have if costs start drifting.
Close out the project and plan maintenance
The final weeks of a renovation are where attention to detail pays off directly. Practical completion, the formal point at which your builder hands over the finished work, is not the same as final payment. Understanding how to manage a home renovation project right through to close-out means you treat this stage with the same rigour you applied at the start, not as a formality to rush through because you’re ready to move back in.
Complete the defects inspection and practical completion
Walk every room, every surface, and every fixture before you sign off on practical completion. Bring your scope of works document and your finish schedule with you, and check each item against what was actually delivered. Note any defects, incomplete work, or items that don’t match the specified finish in a written defects list that you hand to your builder before making the final progress payment.

A standard defects list should capture:
| Item | Location | Description of defect | Builder response | Resolved (Y/N) |
|---|---|---|---|---|
| Paint finish | Kitchen ceiling | Roller marks visible under raking light | ||
| Door hardware | Main bedroom | Handle loose, not aligned | ||
| Tile grout | Ensuite floor | Grout cracking at threshold | ||
| Sealant | Bathroom vanity | Gap in silicone bead at wall junction |
Signing off before defects are resolved gives up your strongest point of leverage for getting them fixed promptly.
In Victoria, your builder is obligated under the Domestic Building Contracts Act to rectify defects that appear within the statutory warranty period, which covers structural defects for ten years and non-structural defects for two years from practical completion. Keep a copy of your signed defects list and all correspondence as part of your permanent project file.
Document warranties, certificates, and maintenance requirements
Once defects are cleared and the occupancy permit or certificate of final inspection is issued by your building surveyor, collect every warranty, product certificate, and compliance document into a single folder. This file protects your investment and is essential paperwork when you refinance or sell the property.
Your close-out folder should include:
- Building permit and occupancy permit from your registered building surveyor
- Waterproofing compliance certificate for all wet areas
- Appliance and fixture warranty cards with model and serial numbers
- Paint colour codes and batch numbers for future touch-ups
- Maintenance schedules for grout resealing, silicone replacement, and timber oiling
Review this folder annually and act on scheduled maintenance items before minor wear becomes a costly repair.

Wrap up and next steps
Knowing how to manage a home renovation project comes down to disciplined preparation before a single trade arrives, and consistent attention to all five moving parts throughout the build. You now have the tools to write a clear brief, build a scope, sequence your trades, navigate Victorian approvals, and close out the project properly. That is a complete process, not a checklist to skim.
Your next step is to put this into practice. Start with your renovation brief today, write down your must-haves versus your nice-to-haves, and measure your existing home so you have something concrete to hand to a builder. If you’re renovating or building in Melbourne’s northern or western suburbs and want a team that manages this process with you from day one, talk to the team at Transformer Homes and find out what a well-run project actually looks like in practice.
