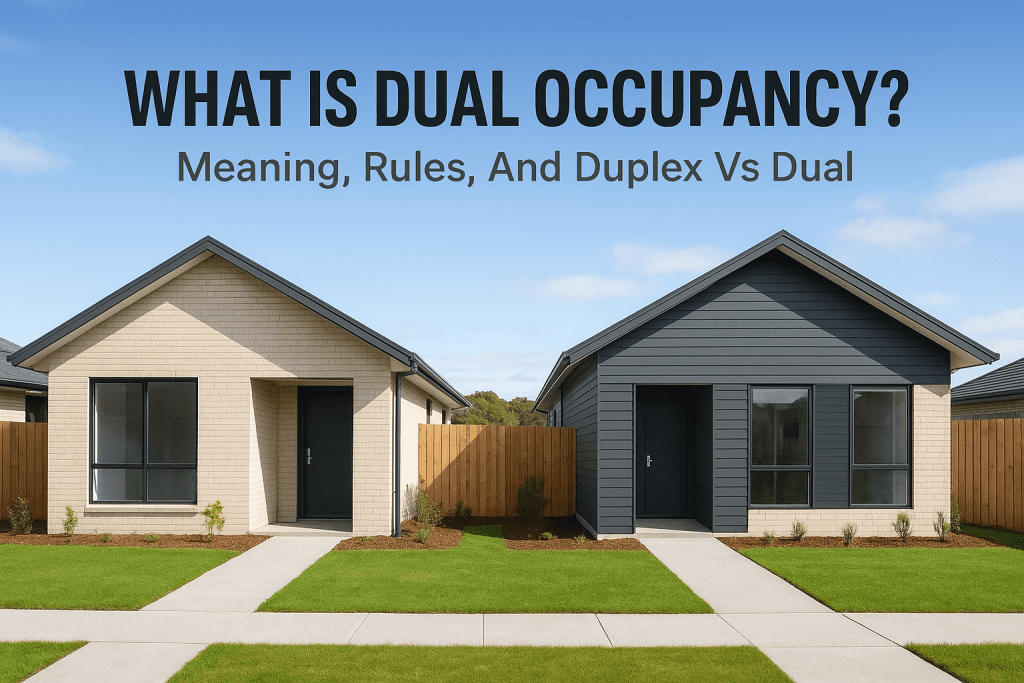
What Is Dual Occupancy? Meaning, Rules, And Duplex Vs Dual
If you’re researching property options in Melbourne, you’ve probably come across the term "dual occupancy", and wondered what it actually means. It’s one of those terms that gets thrown around in real estate and planning conversations, but rarely gets a straight explanation. In simple terms, dual occupancy refers to two separate dwellings built on a single block of land. But there’s more to it than that, including how it differs from a duplex, what council rules apply, and whether it’s the right move for your property. These details matter, especially if you’re weighing up how to make the most of your block in Melbourne’s northern or western suburbs. At Transformer Homes, we design and build dual occupancy developments across Melbourne, working with homeowners and landowners who want quality construction without the cookie-cutter approach. This guide breaks down the meaning, the rules, and the key differences you need to know before making any decisions. What dual occupancy means in Australia In the Australian context, dual occupancy refers to a development where two separate dwellings are built on a single parcel of land. Both homes sit on the same title, and the arrangement is commonly used by homeowners who want to house family members on the same block, generate rental income, or simply maximise the value of land they already own. Understanding what is dual occupancy at a foundational level helps you work out whether it suits your situation before you speak to a builder or planner. Dual occupancy is one of the most practical ways to get more from land you already own, without needing to go through a full subdivision. The two main forms of dual occupancy Dual occupancy developments in Australia come in two main forms. An attached dual occupancy features two dwellings that share a common wall, much like what many people picture when they think of a duplex. A detached dual occupancy involves two completely separate structures on the same lot, such as a house at the front and a purpose-built dwelling at the rear. The form you can build depends on your block size, site orientation, and zoning rules that apply in your area. In Melbourne’s northern and western suburbs, detached rear developments are a popular choice because many established blocks are deep enough to accommodate a second dwelling without compromising the existing home. How dual occupancy is defined under Victorian planning law In Victoria, dual occupancy falls within a specific planning framework that varies by zone and council. Your local planning scheme determines whether a dual occupancy is permitted outright or whether you need a planning permit before works begin. Most residential zones in Melbourne allow dual occupancy, but lot size minimums and setback requirements differ across suburbs. Victorian planning policy also draws a clear line between dual occupancy and subdivision. You can build two dwellings on one title without splitting the land into two separate lots, though subdivision is an option after construction if you want to sell each dwelling independently. Why dual occupancy matters for homeowners Understanding what is dual occupancy goes beyond the definition once you start looking at what it can do for your financial position. If you own a block in Melbourne’s northern or western suburbs, a dual occupancy development gives you the ability to generate rental income or accommodate family without purchasing a second property. That single fact changes the conversation for a lot of landowners. A dual occupancy development can turn an underused backyard into a long-term income-generating asset. The financial case for dual occupancy Building a second dwelling on your existing block costs significantly less than buying a separate investment property in Melbourne’s current market. Once tenanted, that second dwelling can offset your mortgage repayments or supplement your household income in a meaningful way. For homeowners who want to house ageing parents or adult children nearby, the cost savings compared to purchasing a second property outright are substantial. You also retain ownership of both dwellings on one title, which simplifies your asset management and ongoing holding costs. Beyond the numbers, dual occupancy also increases the long-term flexibility of your land. If your circumstances change, you can subdivide the lots and sell one dwelling independently, keeping the other as your primary residence or as a rental. That kind of exit strategy is not available with most other residential building decisions. How dual occupancy works in practice Once you understand what is dual occupancy in concept, the practical process becomes much clearer. A dual occupancy project typically moves through three stages: design and planning, approvals, and construction. Each stage requires input from you, your builder, and in most cases your local council. From site assessment to design Your project starts with a site assessment to determine what your block can support. Your builder or draftsperson will look at your lot dimensions, existing structures, and the zoning rules that apply in your suburb. From there, a design is produced that works within those constraints, whether that means an attached dwelling sharing a wall or a detached home at the rear of the block. Getting the design right at this stage saves significant time and money once you move into the approvals process. What construction looks like on a dual occupancy site Building two dwellings on a single occupied block requires careful sequencing. In most cases, the existing home stays in use while the second dwelling is constructed, which means your builder needs to manage access, site safety, and works without disrupting your daily life. At Transformer Homes, we coordinate trades and scheduling tightly so that both structures are built to the same standard, not one as a priority and the other as an afterthought. Learn the rules and approvals you will face Understanding what is dual occupancy is only part of the picture. Before any construction begins, you need to work through a set of planning rules and approval requirements that vary depending on your suburb, your block size, and the zone your property sits in. Getting across these