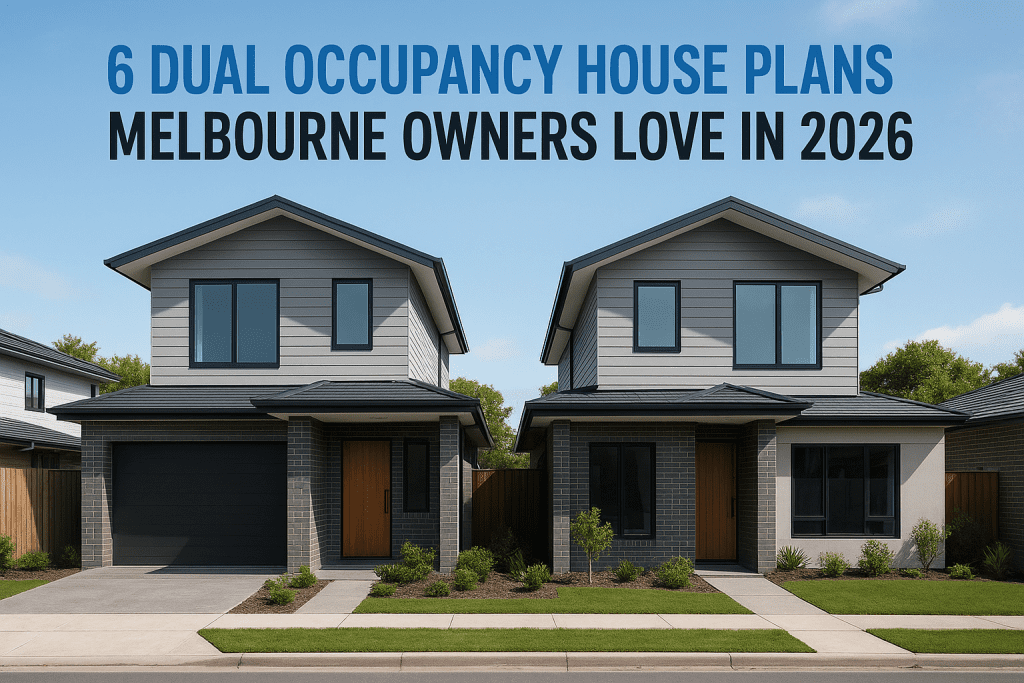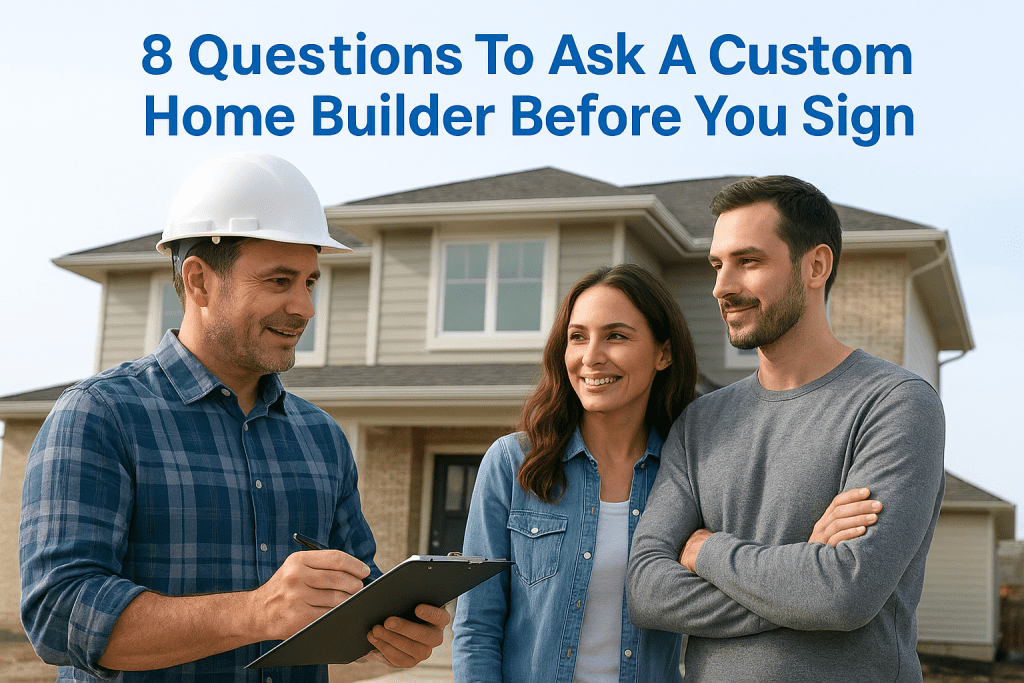
7 Side Return Extension Ideas For Narrow Homes In Melbourne
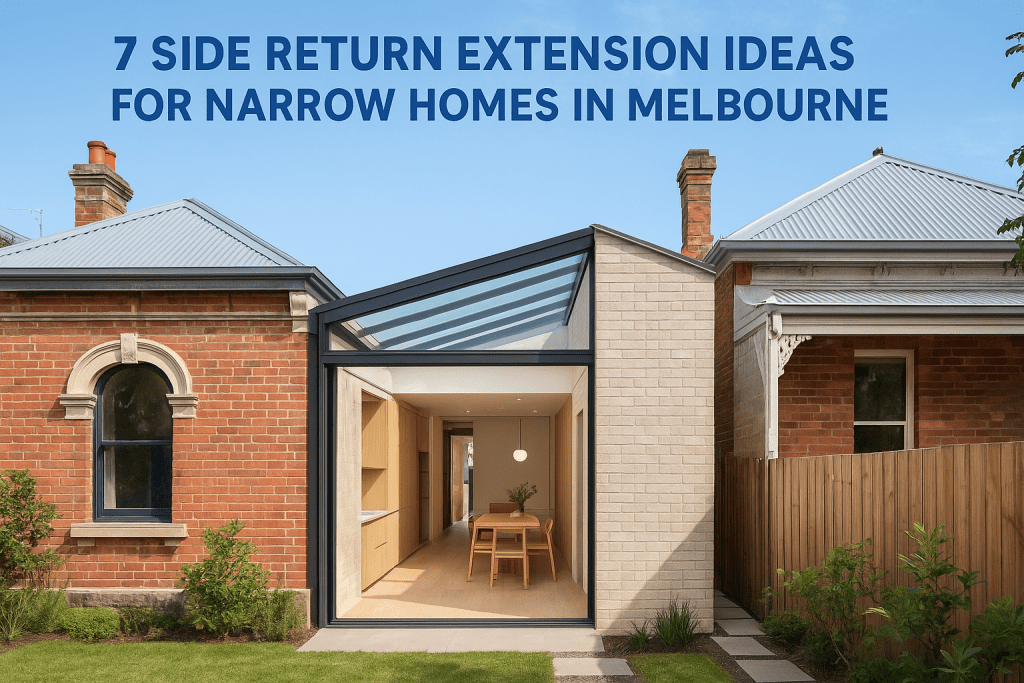
That narrow strip of space running along the side of your home, between the exterior wall and the boundary fence, is one of the most underused areas in Melbourne’s older housing stock. For owners of Victorian terraces, Edwardian cottages, and post-war homes on tight blocks, side return extension ideas can unlock serious square footage without eating into your backyard. It’s a move that adds both living space and natural light where homes need it most. But not every side return extension is created equal. The design you choose affects everything from your kitchen layout to how deep sunlight reaches into the middle of your home. Get it right and you transform a dark, cramped floor plan into something that actually works for how you live. Get it wrong and you’ve spent good money on a corridor. At Transformer Homes, we build and renovate across Melbourne’s northern and western suburbs, areas full of exactly these kinds of narrow-block homes. We’ve put together seven practical side return extension ideas to help you figure out what’s possible on your property, covering layouts, materials, and the design details that make the biggest difference. Whether you’re in the early planning stages or ready to brief a builder, this guide gives you a strong starting point. 1. Start with a feasibility-first design and build plan Before you spend anything on design or materials, the most useful first step is confirming whether your side return extension is actually buildable on your block. Melbourne’s narrow-block homes vary significantly in their setbacks, easements, and planning overlays, so checking constraints early prevents you from designing something that cannot be approved or built within your budget. What this idea is and why it suits Melbourne narrow blocks A feasibility-first approach means assessing your site conditions, planning controls, and structural constraints before briefing a designer on aesthetics. For homes in Melbourne’s northern and western suburbs, particularly Victorian and Edwardian terraces in Northcote, Preston, and Thornbury, the side return is often just 900mm to 1.5m wide. That gap alone will not create a liveable room, but combined with a rear extension or internal reconfiguration, it can transform your entire ground floor into a layout that actually works for daily life. Getting feasibility right at the start saves you from designing an extension your council will not approve. Key checks before you lock in a layout Several site-specific factors will shape what is possible on your block. Boundary setback requirements under Victoria’s ResCode provisions set minimum distances from side and rear boundaries, and these are non-negotiable. You also need to check for easements running along the side return, which are common in Melbourne’s older suburbs and can restrict how close you build to the boundary or whether you can build over that strip entirely. Run through these checks before finalising any layout: Confirm the width of your side return and total footprint available Check your property’s zoning and any overlays (Heritage, Neighbourhood Character, Vegetation) Identify any easements recorded on your title Review ResCode setback and overlooking requirements Assess the structural condition of the existing side wall Costs, timeframes, and approval notes in Melbourne Side return extensions in Melbourne typically cost between $3,500 and $5,000 per square metre, depending on structural complexity, finishes, and site access constraints. For a modest 15 to 20sqm project, expect a total build cost in the range of $80,000 to $150,000 including design fees, approvals, and construction. Planning permit timeframes vary by council but generally run six to twelve weeks for straightforward single-dwelling applications, with building permits issued separately after planning approval is granted. If your property falls within a Heritage Overlay, flag this with your builder before committing to any external materials or roofline changes. 2. Bring daylight in with a glazed strip roof and rooflights One of the most common problems with side return extensions is that the new space sits between two walls, cutting off the natural light that would otherwise enter from the side. A glazed strip roof, combined with strategically placed rooflights, solves this directly and is one of the most impactful side return extension ideas you can apply to a narrow Melbourne home. What this idea is and how it changes the feel of the home A glazed strip roof runs along the junction between the existing rear wall of your home and the new extension roof, creating a continuous band of overhead glazing that pulls light deep into the floor plan. Rooflights, positioned further along the extension roof, add secondary light sources above the main living or kitchen area. Together, they eliminate the tunnel effect that a fully solid roof would create in a side return. A well-placed rooflight can reach parts of your floor plan that no window on a side wall ever could. Design choices that avoid overheating and glare Glazing on a roof collects more solar heat than a vertical window, so specifying the right glass is critical. Low-emissivity double glazing with a solar control coating keeps heat gain manageable in Melbourne’s warmer months. Your designer should also consider roof pitch and orientation when sizing the glazed area, as a north-facing rooflight will perform very differently to a south-facing one. Costs, timeframes, and approval notes in Melbourne Glazed roof elements add roughly $800 to $1,500 per square metre to your extension cost compared to a standard insulated roof. Most side return projects incorporating rooflights sit within the same six to twelve week planning permit window, though heritage overlays may restrict the type and size of glazing visible from the street. 3. Rework the kitchen layout so it does not become a corridor Extending into the side return gives you extra floor area, but the shape of that space is inherently long and narrow. Without careful planning, your new kitchen ends up feeling like a passageway rather than a room worth spending time in. Rethinking the kitchen layout is one of the most practical side return extension ideas you can act on during the design phase. What this idea is