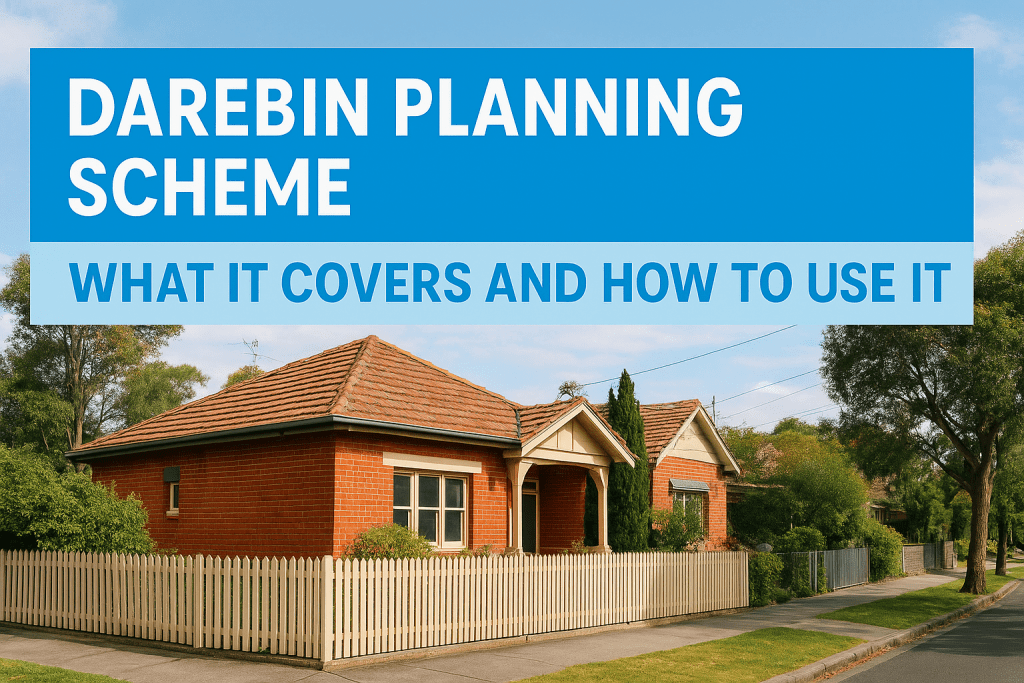
Darebin Planning Scheme: What It Covers And How To Use It
If you’re planning to build, renovate, or develop property in the City of Darebin, the Darebin Planning Scheme is the rulebook you need to understand before lodging a single permit application. It’s the legal framework that determines what you can and can’t do with land across suburbs like Northcote, Preston, Thornbury, and Reservoir, covering everything from zoning classifications to heritage overlays and neighbourhood character requirements. At Transformer Homes, we work with homeowners and developers across Melbourne’s northern suburbs every day. A large share of our custom builds, renovations, and dual occupancy projects fall within Darebin’s municipal boundaries, so we’ve spent years navigating this scheme on behalf of our clients. Understanding how it works, and where the common sticking points are, saves time, money, and frustration during the planning and approval process. This article breaks down what the Darebin Planning Scheme actually covers, how it’s structured, and how you can use it to make informed decisions about your project before you engage a planner or builder. Why the Darebin Planning Scheme matters The Darebin Planning Scheme isn’t a set of guidelines you can choose to follow or ignore. It carries legal weight and applies to every property owner, developer, and builder working within the City of Darebin. If your proposed works require a planning permit and you proceed without one, you risk enforcement action, fines, and mandatory demolition of non-compliant structures. That’s not a risk worth taking, and most banks and conveyancers will flag planning compliance during any property transaction anyway. It controls what you can build and where Whether you need a planning permit depends entirely on what zone your land sits in and which overlays apply to it. Want to add a second dwelling on your block in Reservoir? The scheme will tell you if that’s permitted, what the required setbacks are, and whether council needs to assess the design. The same rules govern home extensions, subdivisions, and changes of use. Without checking the scheme first, you’re making expensive assumptions about what your property can accommodate. The scheme applies to every parcel of land in Darebin, so your property’s specific zone and overlays determine your planning obligations before any other factor. It protects neighbourhood character and heritage Darebin has a significant number of heritage overlay areas across suburbs like Northcote and Thornbury. The Darebin Planning Scheme requires that new works in these areas respect the existing character and built form of the street. Even a straightforward rear extension can trigger additional design requirements and a longer permit assessment process if your property sits within one of these overlays. Knowing this before you draw up plans lets you design smarter and avoid costly revisions mid-project. Your builder needs to understand these requirements just as much as you do. A heritage-sensitive design approach from the outset is far more efficient than submitting plans that council will ask you to revise. What the Darebin Planning Scheme covers The Darebin Planning Scheme is structured around three core components: zones, overlays, and particular provisions. Each layer adds specific requirements to your project. Zones define the broad rules for land use and development intensity, overlays add location-specific controls that sit on top of zoning rules, and particular provisions address situations like car parking, vegetation removal, and subdivision design. Zones and overlays Residential zones across Darebin range from the General Residential Zone (GRZ) to the more restrictive Neighbourhood Residential Zone (NRZ), each setting different height limits, setbacks, and density expectations. Overlays sit on top of these zones and can include heritage, neighbourhood character, or significant landscape controls that shape your design well before council assesses your application. Understanding which zone and overlays apply to your specific property is the first step before committing to any design brief. Particular provisions and local policies The scheme also contains particular provisions that govern specifics like car parking numbers and native vegetation removal. Local planning policies set out council’s design expectations for particular areas, giving you a clearer picture of what assessors look for when reviewing any application you submit. How to look up zoning, overlays and clauses The Victorian Government provides a free tool called Planning Maps Online that lets you search any property address and instantly view its zone, overlays, and applicable scheme clauses. You can access it through the planning.vic.gov.au website. Once you enter your address, the map displays every planning control layered over your property, giving you a clear picture of your obligations before you spend money on plans. Using Planning Maps Online Start by entering your property address into the search field. The tool highlights your zone, such as the General Residential Zone or Neighbourhood Residential Zone, alongside any overlays including heritage or neighbourhood character controls. Clicking each layer opens a summary of what that control requires, with links through to the full Darebin Planning Scheme clauses hosted on the same platform. Always check both the zone and every overlay that applies to your property before committing to a design brief. Reviewing the overlay details directly also tells you whether a planning permit is required for your specific works or whether an exemption applies, which can significantly affect your project timeline and design brief. Reading the scheme clauses Once you’ve identified your zone and overlays, navigate to the relevant clauses in the scheme text. Each clause sets out permit triggers, exemptions, and decision guidelines that council uses when assessing your application. Reading these directly removes guesswork about permit requirements and helps you design with the rules in mind from the start. How the scheme affects common home projects The Darebin Planning Scheme shapes nearly every residential project in the municipality, from small rear extensions to multi-dwelling developments. Understanding how it applies to your specific project type helps you plan realistic timelines and budgets before you commit to any design brief. Extensions and additions Adding a room or extending your kitchen often triggers permit requirements depending on your zone and any overlays. In a Neighbourhood Residential Zone, height limits and setbacks are stricter than in