Building a custom home is one of the biggest investments you’ll ever make, and one of the easiest to get wrong without a clear plan. A custom home building checklist keeps every decision, deadline, and dollar accounted for, so nothing slips through the cracks between your first sketch and your final walkthrough. Without one, you’re relying on memory and good luck, and neither holds up on a construction site.
At Transformer Homes, we’ve guided homeowners across Melbourne’s Northern and Western suburbs through every stage of the build process, from initial site assessments in Preston to final handovers in Thomastown. That experience has shown us exactly where projects stall, where budgets blow out, and what separates a smooth build from a stressful one. It almost always comes down to preparation. Specifically, having a structured, step-by-step plan before a single footing is poured.
This guide breaks down the entire custom home building process into clear, actionable stages. Whether you’re building on your own block or starting from scratch with a new site, you’ll walk away with a practical roadmap covering planning, budgeting, design, and construction management, everything you need to move forward with confidence in 2026 and beyond.
What this checklist covers in Australia in 2026
Building regulations, construction costs, and approval timelines in Australia have all shifted noticeably over the past few years. Victorian building permits, material pricing tied to global supply chains, and updated NCC (National Construction Code) requirements mean that a checklist written for 2020 will leave you unprepared for what you’ll face on a site in 2026. This guide reflects the current environment, so every step you follow is grounded in what’s actually happening now across Melbourne and greater Victoria.
Your checklist is only useful if it reflects the rules and costs you’re working with today, not three years ago.
What the four stages in this guide address
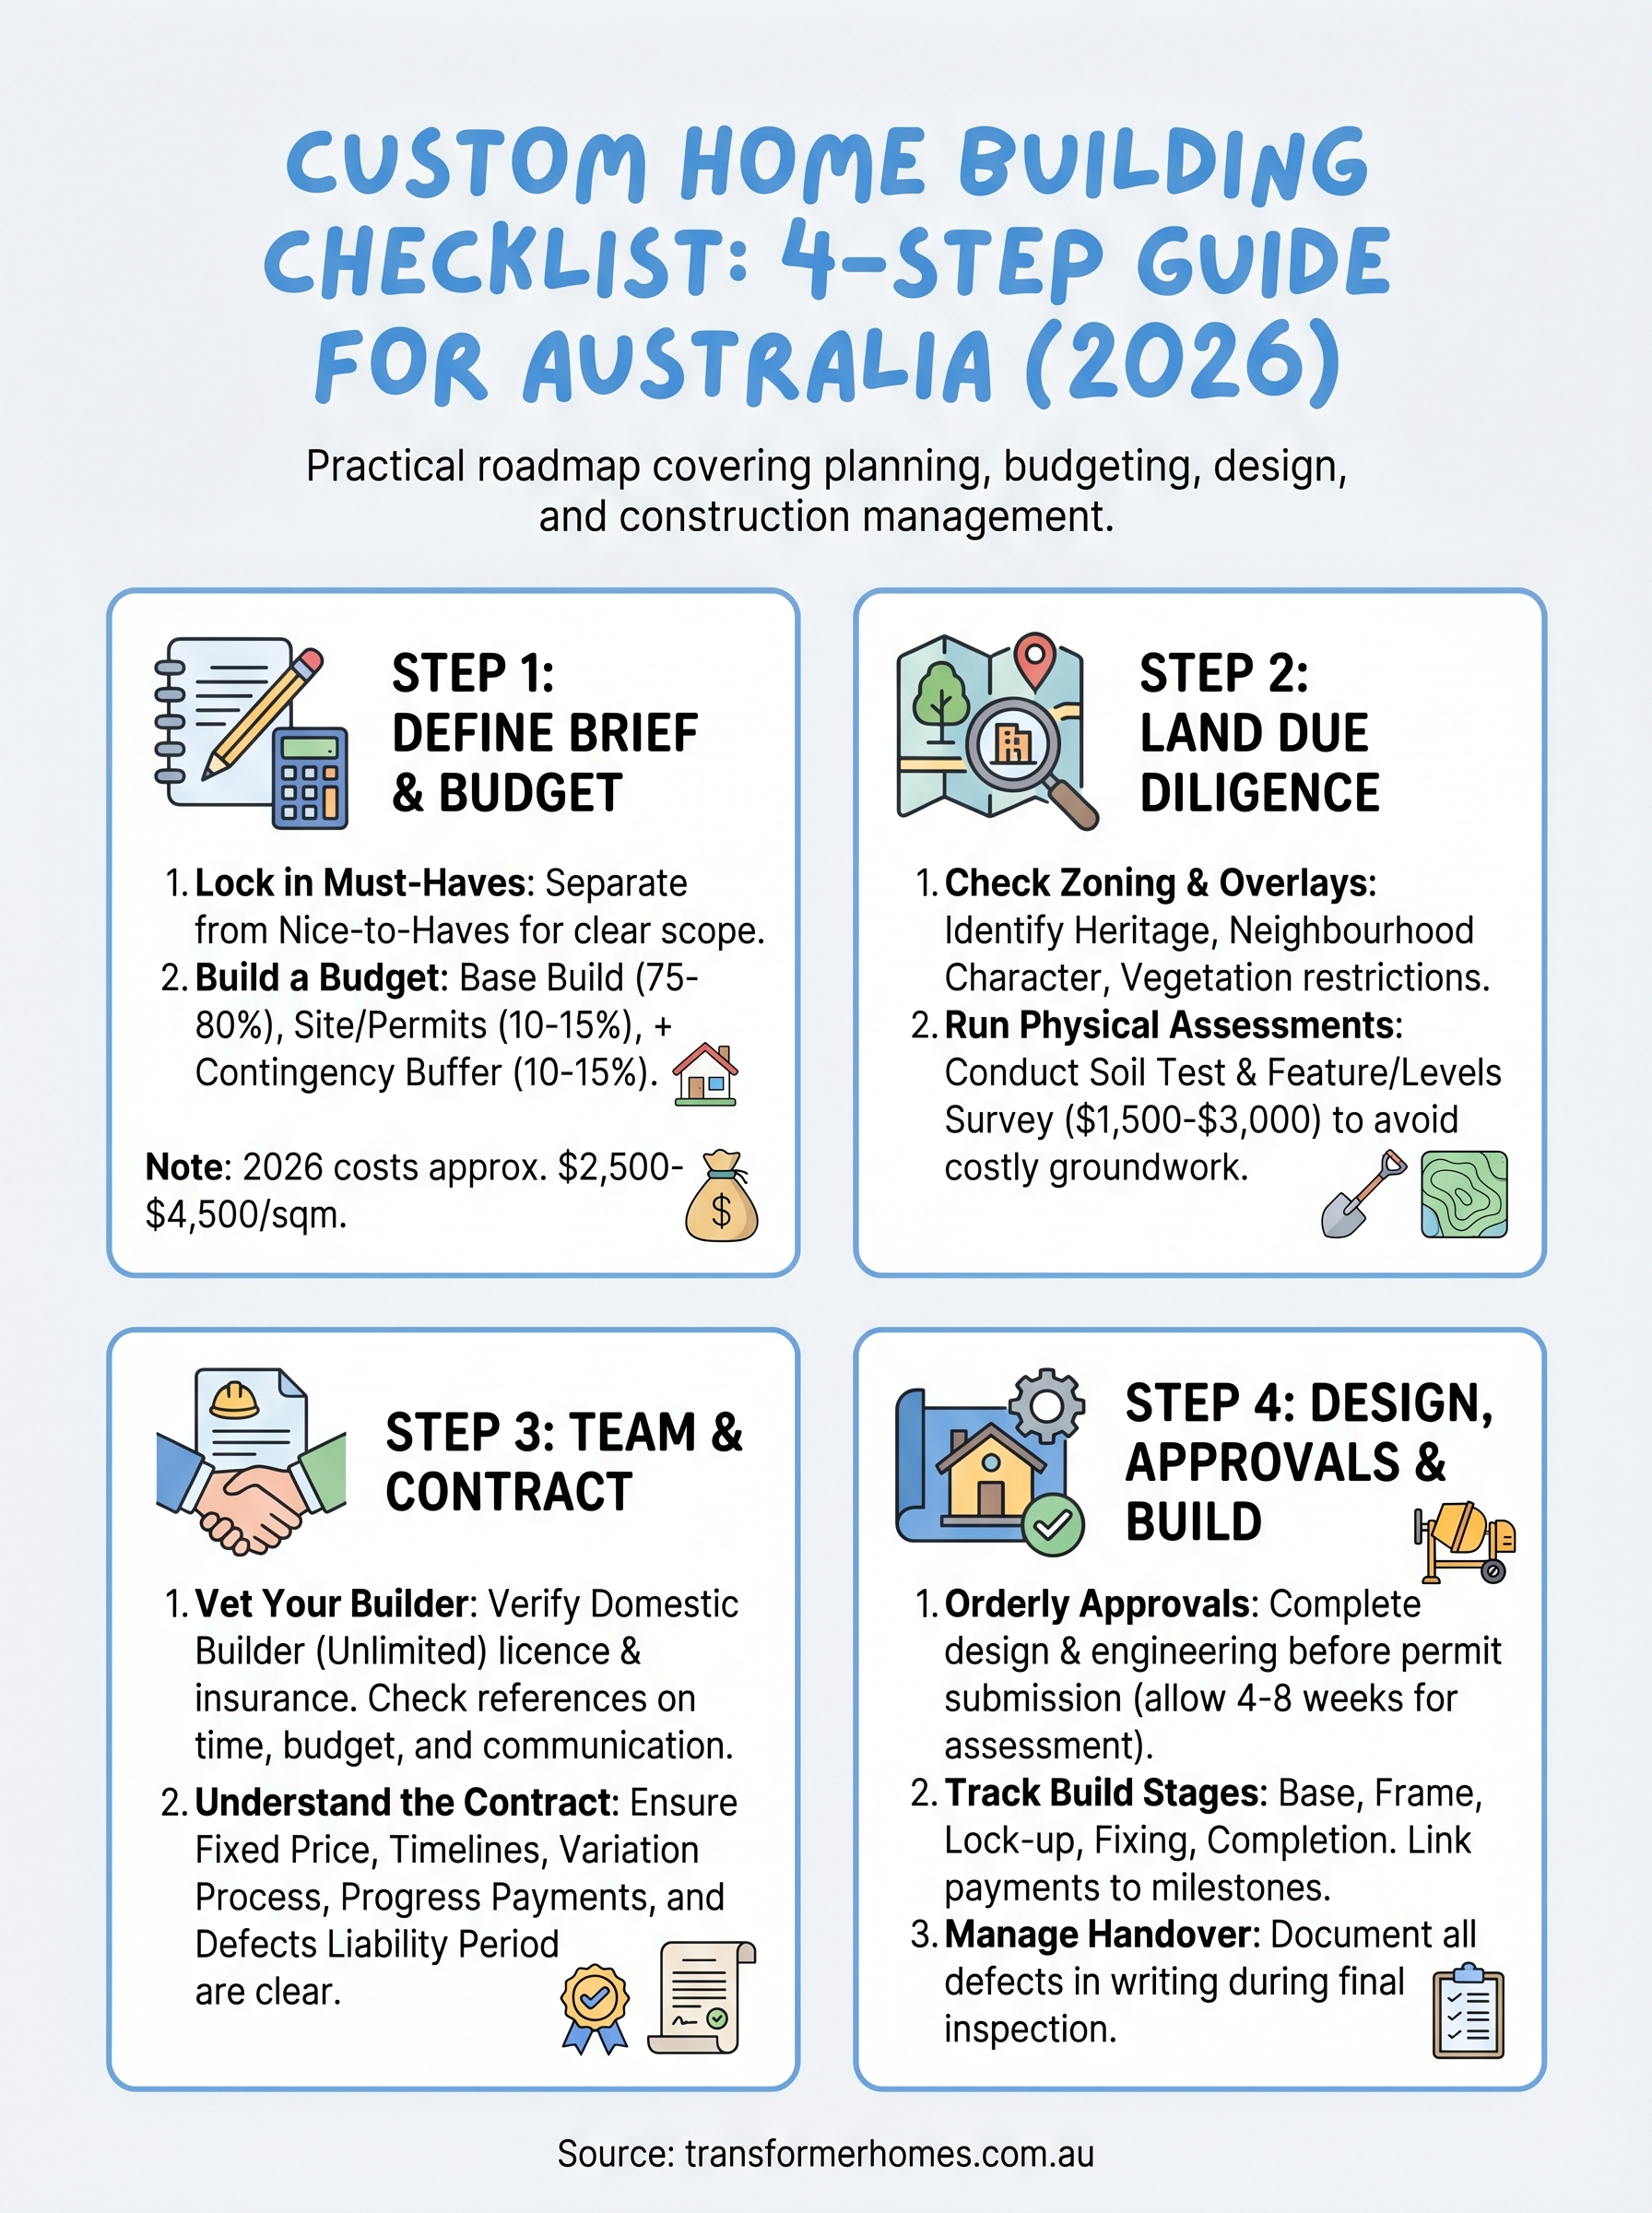
This custom home building checklist is structured around four core stages: defining your brief and budget, choosing and assessing land, locking in your team and contract, and managing design through to handover. Each stage builds on the previous one, so skipping ahead creates gaps that surface later as delays, cost blowouts, or disputes with builders or councils. Working through every stage in sequence gives you the clearest possible view of what lies ahead before you commit money or sign anything.
The four stages map directly onto how projects actually unfold in the Melbourne market. Rather than grouping everything under vague categories like "planning" or "construction," this guide separates decisions by when you need to make them and who is responsible for each one. That structure makes it far easier to delegate tasks, track progress, and spot when something is falling behind schedule.
What’s not covered and why
This checklist focuses on new residential builds and major additions on freehold land in Victoria. It doesn’t cover off-the-plan apartment purchases, owner-builder projects where the homeowner holds the building licence, or commercial construction. Those pathways involve different regulatory frameworks, insurance obligations, and contract structures. If your project falls into one of those categories, you’ll need specialist guidance that goes beyond what a standard residential checklist can offer.
Understanding these boundaries matters because applying the wrong framework to your project leads to missed permits, incorrect insurance coverage, or contractual gaps that are expensive to fix. The steps in this guide are written for clients working with a registered domestic builder under a major domestic building contract in Victoria, which is the most common arrangement for custom home projects in the Melbourne area.
Step 1. Define your brief, budget and buffer
Before you talk to a builder or look at a single floor plan, you need to document exactly what you want to build. Your brief is the foundation of every decision that follows in this custom home building checklist, from which builder you hire to how long the project takes. Without it, you’re making expensive choices based on guesswork, and those guesses compound fast once construction starts.
Lock in your must-haves before you price anything
Start by separating your requirements into two clear columns: must-haves and nice-to-haves. Must-haves are non-negotiable features your home cannot function without, such as four bedrooms, a north-facing living area, or a double garage. Nice-to-haves are features you’d include if the budget allows, such as a butler’s pantry or heated bathroom floors. This separation gives your designer and builder a clear scope to price against, and it stops costs from inflating before construction even begins.
Writing your brief down before your first builder meeting saves hours of back-and-forth and keeps your project grounded in what actually matters.
Build your budget with a real contingency
Your total build budget needs three components: your base build cost, your site and authority costs, and a contingency buffer. In Victoria in 2026, most custom homes run between $2,500 and $4,500 per square metre depending on specification level. Use the table below as a starting framework:
| Budget component | Suggested allocation |
|---|---|
| Base build cost | 75-80% of total budget |
| Site works, permits, fees | 10-15% of total budget |
| Contingency buffer | 10-15% of total budget |
Never skip the contingency. Unexpected costs appear on almost every custom build, and 10 to 15 percent gives you room to absorb them without stalling the project or going back to your lender mid-construction.
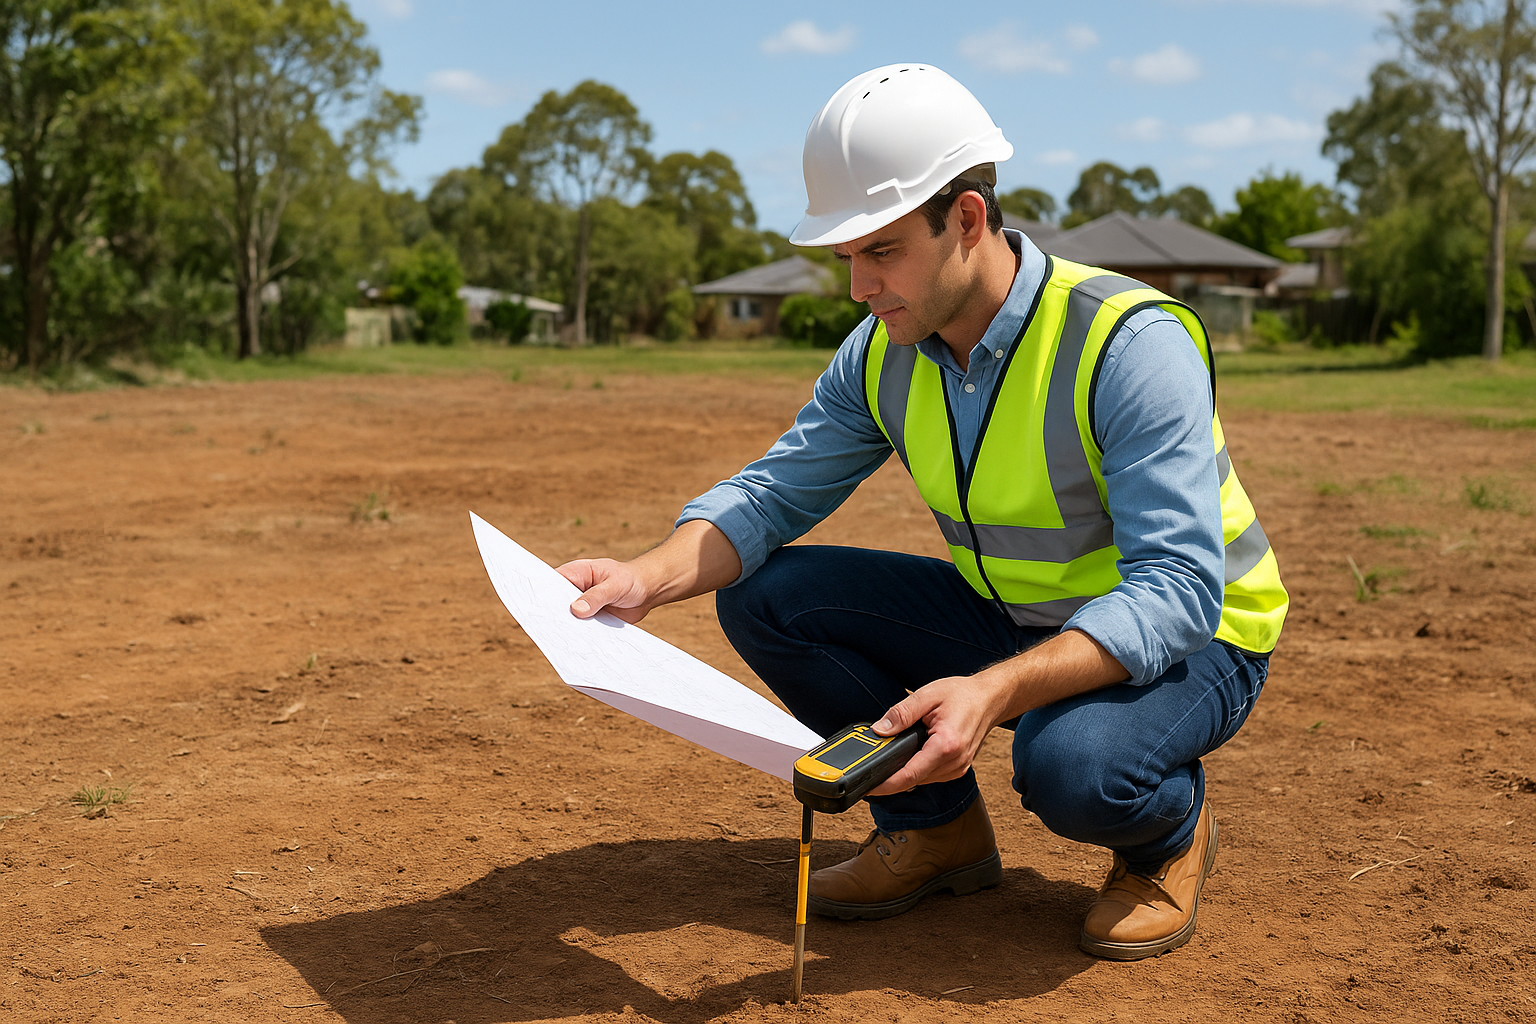
Step 2. Choose land and run site due diligence
Whether you already own a block or are still searching for one, site due diligence is a non-negotiable step in your custom home building checklist. Many buyers focus entirely on location and price, then discover after settlement that overlays, easements, or soil conditions add tens of thousands of dollars to their build cost. Catching these issues before you commit protects your budget and your timeline from the outset.
Check zoning and overlay restrictions
Your block’s zoning determines what you can legally build on it, and overlays add another layer of rules on top of that. In Victoria, you can verify both through the state planning portal. Look specifically for the following overlays, all of which can restrict height, setbacks, materials, or tree removal:
- Heritage Overlay (HO): May require council approval for demolition or significant external changes.
- Neighbourhood Character Overlay (NCO): Controls building scale and street appearance.
- Vegetation Protection Overlay (VPO): Restricts removal of significant trees on or near your site.
If an overlay applies to your block, budget for additional design time and the real possibility of a planning permit sitting on top of your standard building permit.
Run a physical site assessment
Before you finalise any purchase, arrange a soil test and a feature and levels survey on the site. A soil test identifies the reactive clay classification, which directly drives your footing design and cost. A feature and levels survey maps existing structures, easements, trees, and site contours, giving your designer accurate data to work from rather than estimates.
Both reports together typically cost between $1,500 and $3,000, and they pay for themselves by removing costly guesswork from your builder’s initial quote.
Step 3. Pick your team and sign the right contract
Choosing the right builder is the single decision in your custom home building checklist that carries the most long-term weight. A builder’s licence status, track record, and communication style all determine how your project runs from the first site meeting to final handover. Before you request a single quote, verify that your builder holds a current domestic builder (unlimited) licence through the Victorian Building Authority.
The cheapest quote rarely reflects the full cost of your project – get at least three detailed, itemised quotes before making any decision.
Vet your builder before you commit
Check that your builder carries domestic building insurance covering the full contract value, and ask directly for references from projects completed in the last two years. When you speak to past clients, focus on these three questions because the answers reveal far more than any portfolio photograph:
- Did the project complete on time and within the agreed budget?
- How did the builder manage variations and unexpected costs?
- Was communication consistent and proactive throughout the build?
Understand what belongs in your contract
In Victoria, any residential building contract over $10,000 must be a major domestic building contract under the Domestic Building Contracts Act 1995. Before you sign, confirm your contract includes the following:
| Contract element | Why it matters |
|---|---|
| Fixed price or schedule of rates | Sets your cost certainty |
| Commencement and completion dates | Locks in your timeline |
| Variation process and approval steps | Prevents cost disputes |
| Progress payment schedule | Aligns payments to build stages |
| Defects liability period | Protects you after handover |
Your builder should welcome these questions. Resistance or vague answers at the contract stage is a clear signal to keep looking and find a builder who operates with full transparency.
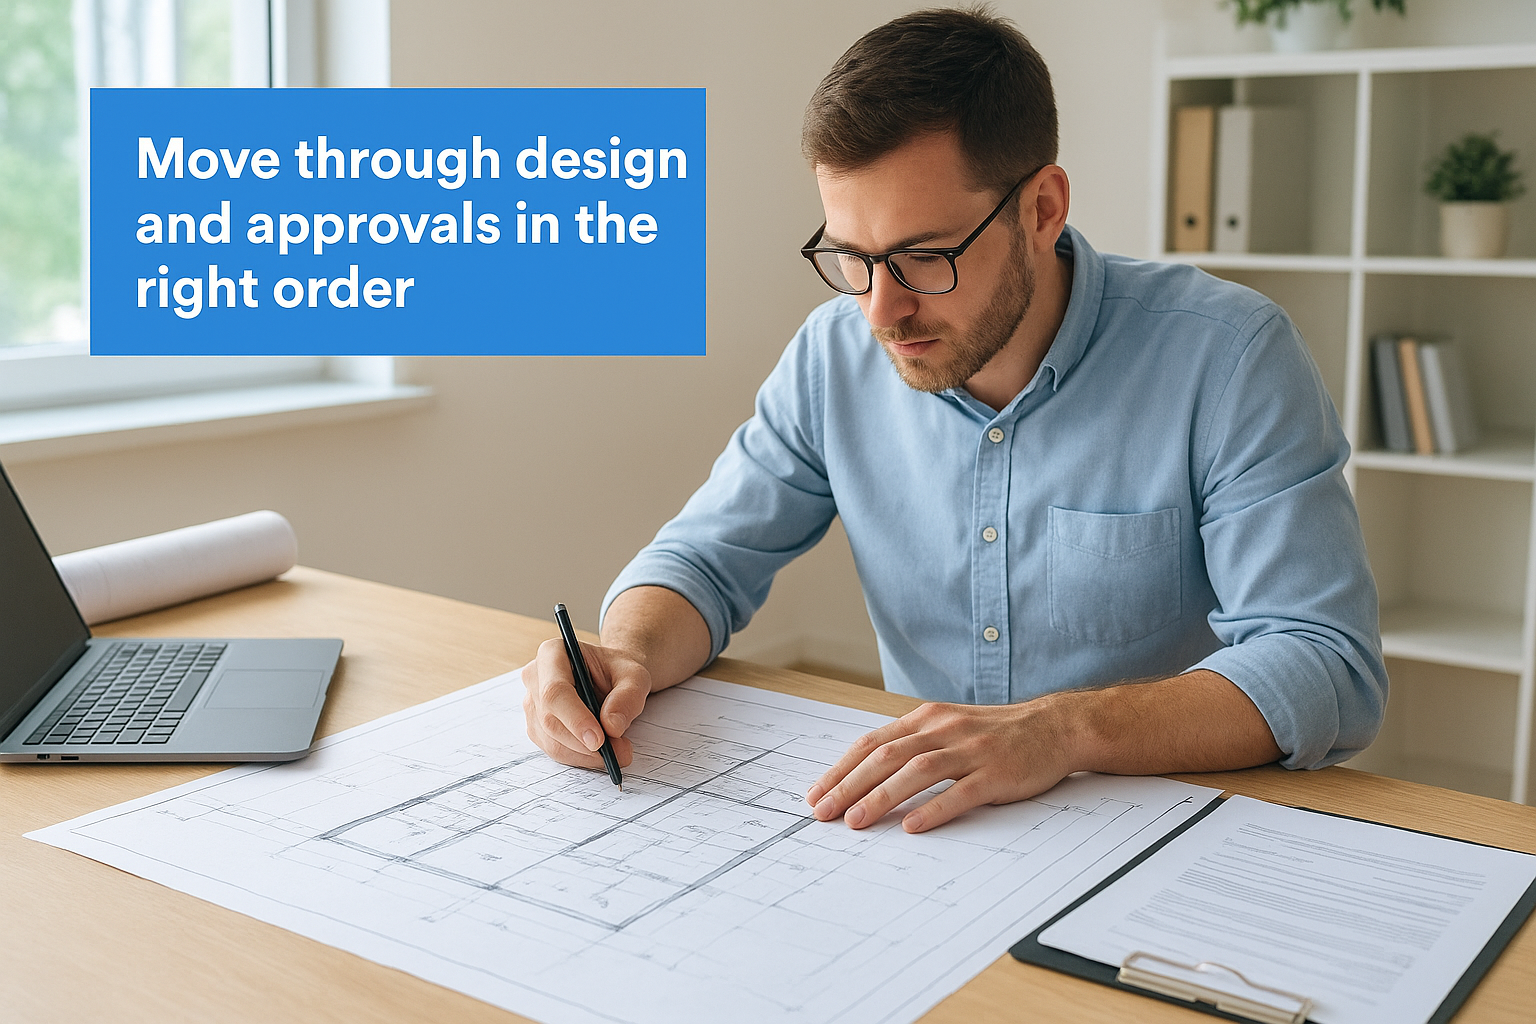
Step 4. Manage design, approvals, build and handover
This final stage of your custom home building checklist is where plans become a physical structure, and how well you manage it determines your final outcome. Most delays happen not during construction itself, but during design revisions and the permit approval process. Staying ahead of both requires a clear sequence and regular communication with your designer, builder, and council.
Move through design and approvals in the right order
Your designer produces working drawings and engineering documentation before any permit application goes to the Victorian Building Authority or your local council. Rushing this step produces incomplete drawings, which councils reject, adding weeks to your approval timeline. Build in four to eight weeks for permit assessment as a realistic baseline in Melbourne’s current environment.
Submit complete documentation the first time – incomplete applications are the single most common cause of permit delays in Victoria.
Track build stages and manage your handover
Once construction starts, your builder calls progress payments at set milestones: base, frame, lock-up, fixing, and completion. Use the table below to track each stage and confirm what is required before releasing payment:
| Build stage | Key inspection point |
|---|---|
| Base/slab | Footing inspection passed |
| Frame | Frame inspection certificate issued |
| Lock-up | Windows, roofing, and external walls complete |
| Fixing | Internal fit-out and joinery complete |
| Completion | Final inspection and occupancy permit issued |
At handover, walk through every room with your builder and document any defects in writing before you accept the keys. Your builder must rectify defects reported within the defects liability period, which is typically 13 weeks under Victorian law.
Ready to start planning
A complete custom home building checklist turns what feels like an overwhelming project into a series of manageable steps. You now have the full sequence: from locking in your brief and budget, through site due diligence and contract negotiations, all the way to managing design, permits, and final handover. Each stage in this guide gives you a concrete action to take before moving forward, which means fewer surprises and a much clearer sense of what lies ahead.
The difference between a build that runs smoothly and one that drains your budget comes down to preparation and the team you choose. If you’re building or renovating in Melbourne’s Northern or Western suburbs, Transformer Homes brings the local knowledge, transparent process, and build quality that your project deserves. Talk to our team today and start turning your plans into a finished home built the right way.
